When it comes to taking care of your painting supplies, small investments in cleaning and storage will provide significant long-term benefits. In this blog post, we will teach you how to properly clean and store your paint brushes so they stay in good condition for as long as possible!
It’s important to take care of your paint brushes so they last longer. If you don’t clean them properly and store them correctly, the bristles will become damaged and the brush will lose its shape.
What do you need to know about cleaning and storing paintbrushes?
Painters believe that cleaning and properly storing paint brushes and rollers are essential for ensuring quality results from your next painting project. Knowing the proper cleaning supplies, techniques, and storage solutions can make all the difference when it comes to protecting your paint tools from wear and tear. By taking the time to properly clean and store your brushes and rollers, you can lengthen their life expectancy, which will save you money over time.
Additionally, regularly cleaning your tools between uses helps keep them in optimal condition so they perform better with each project. Although it may seem tedious at times, investing a small amount of effort into caring for your paint brushes and rollers will always be worth it in the end!
4 Tips on How to Clean Paint Brushes and Store Them
Here are the 4 tips on how to clean and store your brushes:
1.) Identify what type of brush you’re cleaning
Paint brushes come in a variety of shapes and sizes, each designed for different purposes. Generally, the two main types of paint brushes are natural bristle, and synthetic filament. Natural bristle brushes are made with natural animal hair from animals such as pigs or horses and are designed to hold paint well while providing an even coat and are generally used with oil-based paints.
Synthetic filament brushes are usually made of nylon or polyester and have a thickness that helps consistently spread thicker paints like latex across surfaces. Depending on the project you are undertaking, it’s important to make sure you choose a quality brush that is going to give you the best results. This not only ensures optimal results but makes clean-up significantly easier too!
2.) Remove paint from your Paint Brush
Cleaning paint brushes is an important step in any project because the quality of your brushes affects how the paint adheres to surfaces. Different types of paint require different methods for removing it.
For latex paint, water based paint, common solvents such as mineral spirits, or even warm water can be used to clean off the bristles.
When cleaning natural bristle brushes with oil based paint, more intense solvents must be used; turpentine paint thinner and other petroleum distillates are often recommended.
No matter which type of solvent you choose, always remember to rinse the brush out thoroughly and start from the base of the bristles and work your way up to ensure that all of the paint is removed before reshaping the brush and storing it properly.
3.) Remove hardened paint from the brush bristles
Scraping off hardened paint from brush bristles can be a tedious and time-consuming process, but patience and the right materials make all the difference.
For oil-based paints, apply the appropriate solvent to the brush tips. Place brush over a lidded container and pour; let it soak for an hour. Use an old toothbrush to gently scrub the remaining paint off of the brush bristles.
To remove stubborn hardened paint – place the brush tips with hardened paint in vinegar for an hour to start. If it remains too stiff, continue soaking for one more hour. For extra-stiff bristles that need further loosening, submerge the head of the brush into a pot filled with vinegar and place it on the stove before boiling over medium heat – then allow time to cool off afterward when handling.
Give brush shafts a quick rinse with water before washing the brush itself in warm, soapy water until all residue is gone. Allowing brushes to dry thoroughly with bristles pointing down will help to restore their original shape and prevent them from becoming brittle or discolored.
Gently comb out stuck paint knots by hand or use a small bristle comb to scrape the bristles. After usage is complete; rinse several times if necessary until desired results are achieved!
4.) Dry and Store your brushes
Once paint brushes are cleaned, wrap the bristles in plastic and secure them with a twist tie or elastic band. This step will help ensure the bristles stay stabilized until they dry.
Take care not to squeeze the brush too tightly as this could damage or change its shape. It is also essential to store them in a cool, dry place where they won’t be prone to dampness or heat.
Paint brushes should never be stored directly upright on their bristles as gravity can weaken them over time. Instead, hang them from hooks or lay them horizontally which will help preserve them for future use. Keep your brushes in tip-top shape by reusing the storage packaging they come with. This simple step helps them maintain their original form – prolonging their life and performance!
Above are the tips that you can follow to clean paint brushes and store them. You may also want to know regarding paint rollers.
How to Clean Paint Rollers and Store them
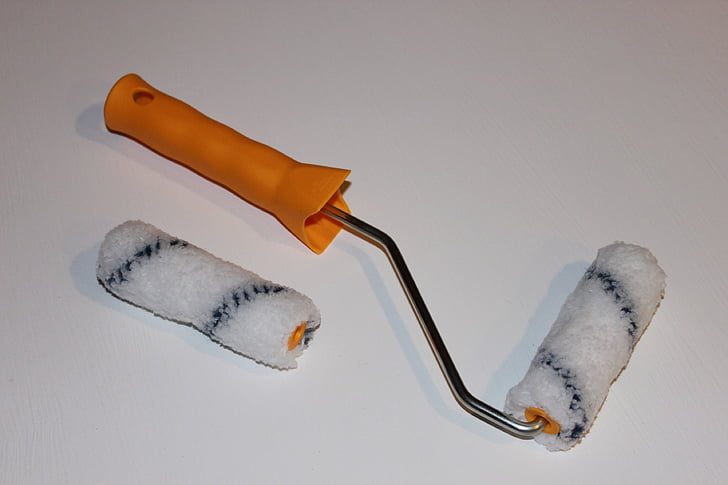
To clean a paint roller, you’ll need a sponge or cloth, some dishwashing liquid, and some warm water. First, run the roller over the old sponge several times to remove the excess paint that’s still on it. Next, submerge the roller into warm water mixed with a few drops of dishwashing liquid and let it soak for at least five minutes.
Once the paint has been thoroughly removed, rinse the roller in clear water until all soap residue is gone. After that, gently squeeze excess water from the wet roller before laying it flat on a dry surface so it can air-dry overnight.
When storing your rollers for longer periods, make sure that they are completely dry and free of any dust or dirt particles first. Place each roller into plastic wrap or roller covers and store them away from any direct sources of light or heat to prevent them from becoming brittle or moldy.
Additionally, keep all of your rollers in the same place and label each one so you know which type of paint was used with each brush. Following these simple tips will ensure that your paint rollers stay in optimal condition whenever you need them!
Conclusion
Knowing how to clean a paint brush and store it is an important part of any painting project. Cleaning the brush removes paint from bristles and shafts while storing them in a cool, dry place prevents damage from heat and moisture.
Proper cleaning and storage also help to preserve brushes for future use and prolong their longevity. Following these steps will help prolong the life of any paintbrush and make it easier for your next painting project!


